Kyle Evans
  • Home
  • About
  • Case Studies
  • Writing
  • Podcasting
  • Guide
  • Maker
  • Contact
  • Blog

Building a Backyard

7/9/2018

1 Comment

 
Picture
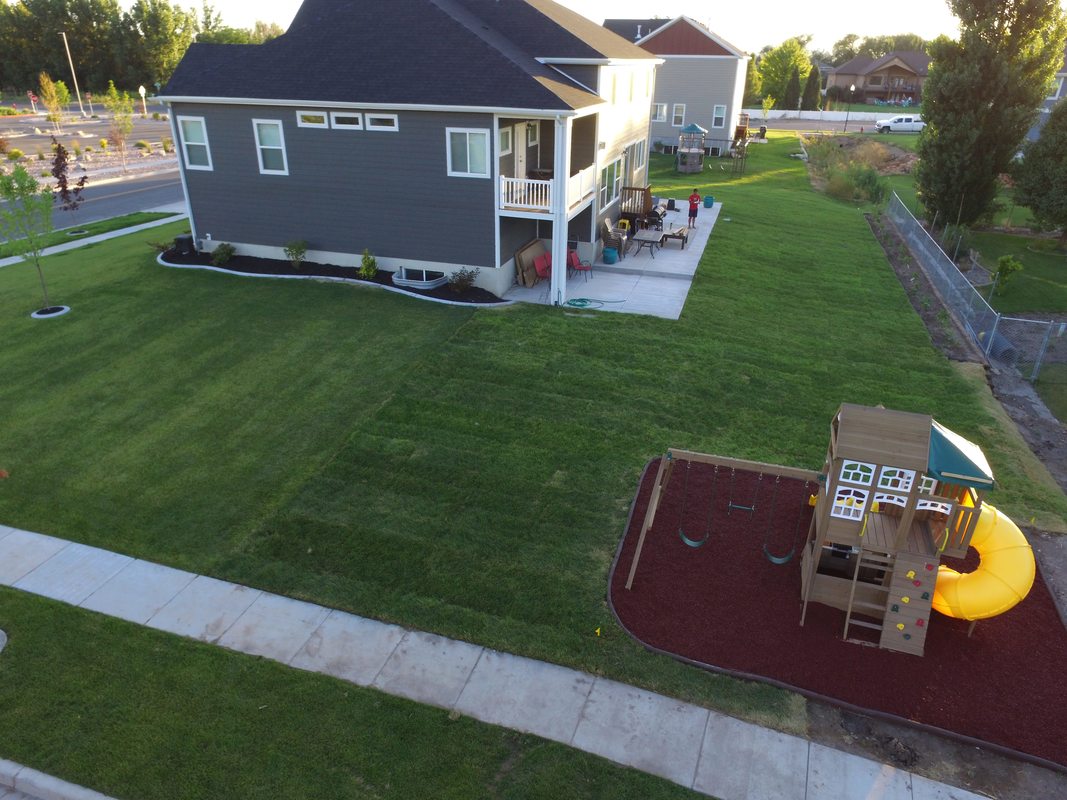
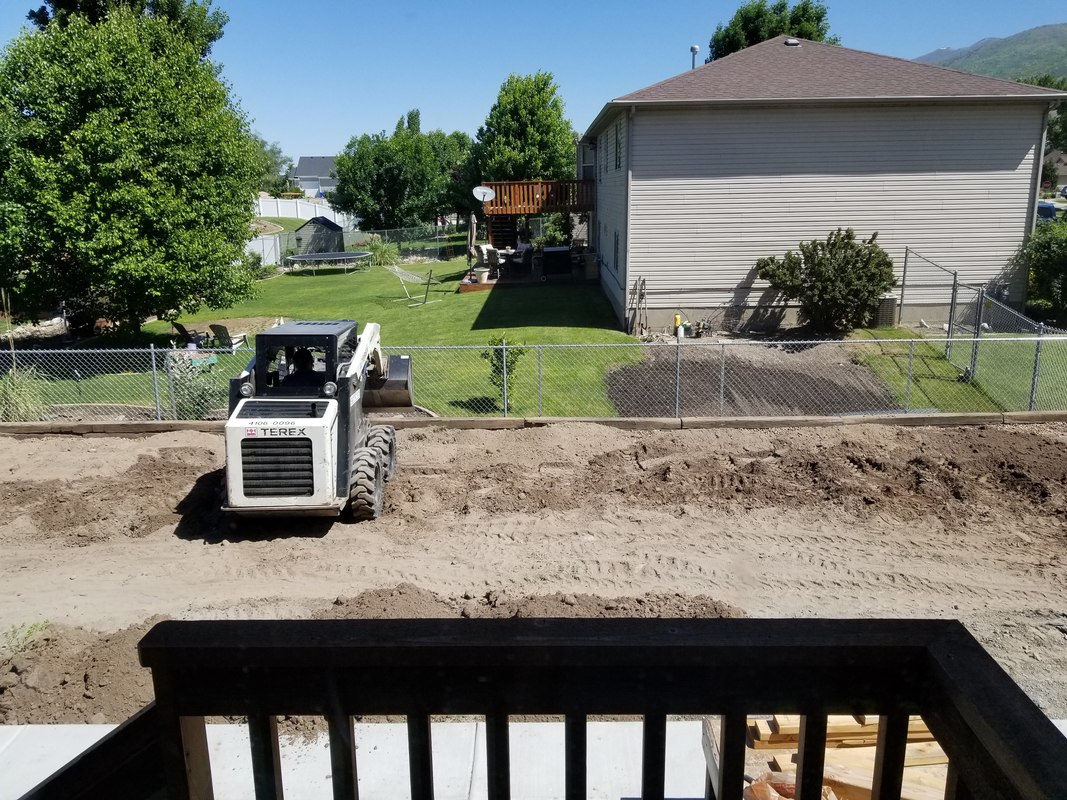
Over the past two months, we've been relentlessly working on building our backyard. And as I got ready to post some finished photos of it, I realized that I should write a little bit about the journey as well, since it has been non-stop work for weeks.
It all started late last year as we moved in and started to envision what our ideal backyard space would look like. We knew we needed a much bigger patio along with space for a shed, space for a playset, and lots of grassy area for the kids.

So we mocked up the yard and started placing everything around. The design helped us get a plan in place, even though we deviated quite a bit from it in the end, (making it a lot better ultimately).
Picture
Picture
Unfortunately I don't have a great photo of what it looked like as we got started. It was pretty sad though. It was obviously a weedy mess, and it sloped dramatically down toward the back, giving us very little level space for the kids to play in. And the patio. If the little cement pad could even be called that. Not a lot of usable space in the back, just on the side.
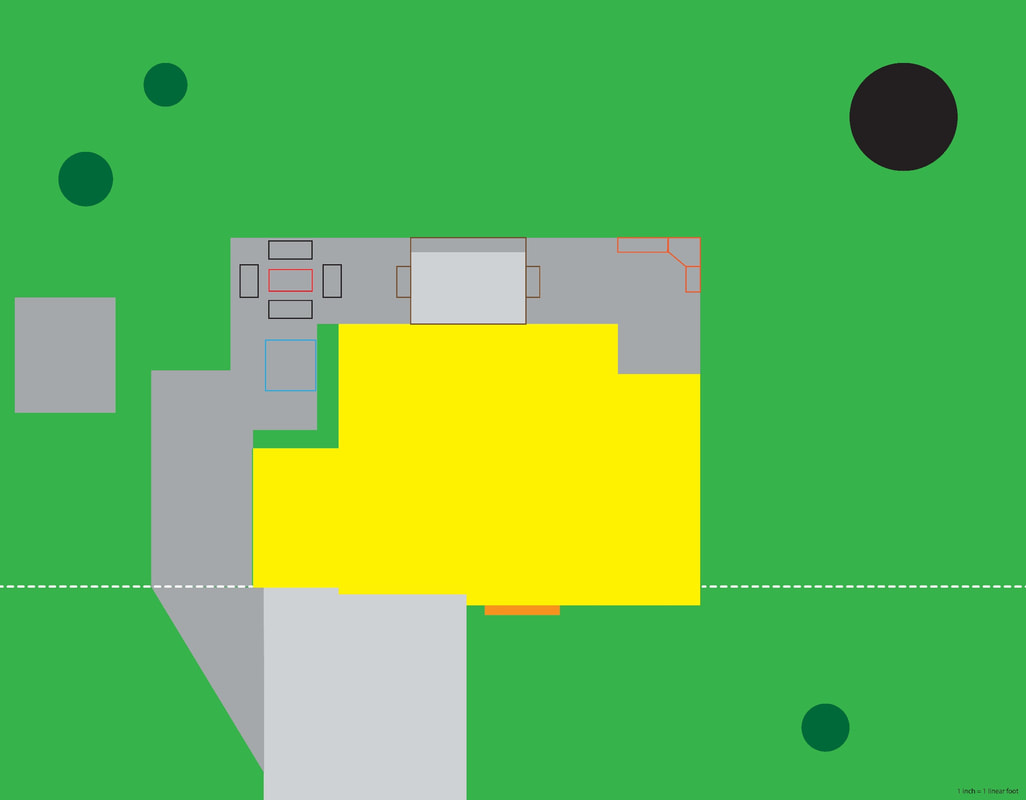
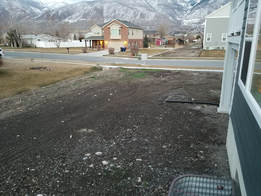
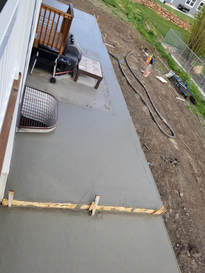
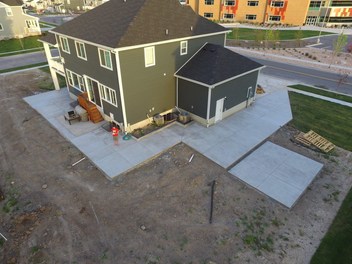
So before we did anything else, we knew we needed to get some concrete poured. And if you're going to do, might as well do it right, you know? So we went all in for a new patio, a parking pad, and a shed pad. Basically just making the whole yard concrete, as a few people joked. And it turned out great. We still have big plans for this space, but more to come on that later.
Picture
Picture
Once the cement was done, it was time to raise up the level of the yard and make it much more usable. So we opted to build a retaining wall out of railroad ties.

Let me tell you, those suckers are heavy. But we (really just me) dug out along the entire back of the house and made about an 80 foot retaining wall. It is a little less than 3 feet high, which is close to the level of the burm that was built in the back. But that allowed us to gain quite a bit of space in the back.
Picture
Picture
So with the retaining wall done, we started to bring in the dirt.

At first we thought that 3-4 truckloads would be sufficient. But as soon as it got dumped on the street, we realized that was probably only about half of what we needed. So what started as a one-Saturday project became a two-Saturday project. 

We rented a skid-steer to help with moving dirt, and my dad manned the tractor while I got to shovel and rake. It was good to have both of us working on it though. If it wasn't for his help, this two-Saturday project would have easily become 3-4 Saturdays.

And to paraphrase Clint Eastwood:
"You see in this world there's two kinds of people my friend - those with tractors, and those who dig. You dig."
Picture
Picture
Once we got that part done and looking nicely level, it was time to dig up all our hard work in order to lay sprinklers. 

So we had a trencher come in. I didn't take any pictures of that, but fortunately McCoy was documenting most of the steps in his drawings, which are about as accurate as you can get, so here they are. He was pretty enamored by the whole process and watched from our back window for almost the whole time. 
Picture
Picture
Now I've never like dealing with sprinklers. I don't know what it is about sprinklers, but I don't like them. Maybe because they are always causing problems. And become a mess trying to fix. 

But as a glutton for punishment, I went and got all the stuff to put in all the sprinklers for our backyard. 

I had a pretty good idea of what I wanted to do, though in trying to use online tools to map it out, it never seemed to work like I wanted. So the plan for it was just in my head and started to come out as we laid down the pipe.
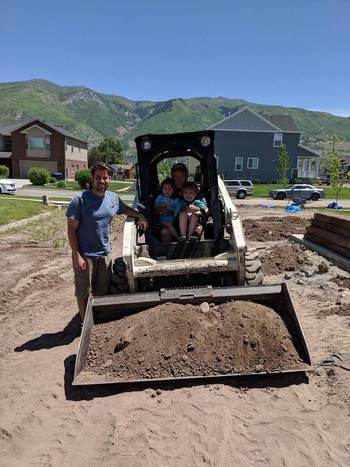
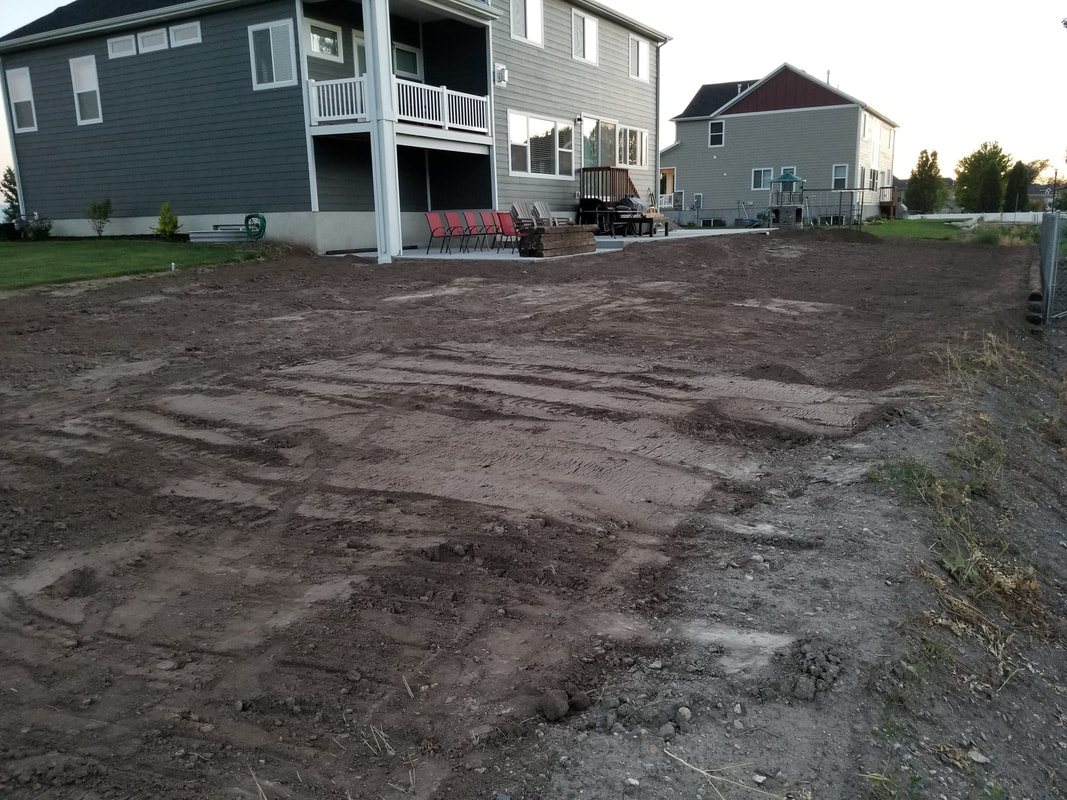
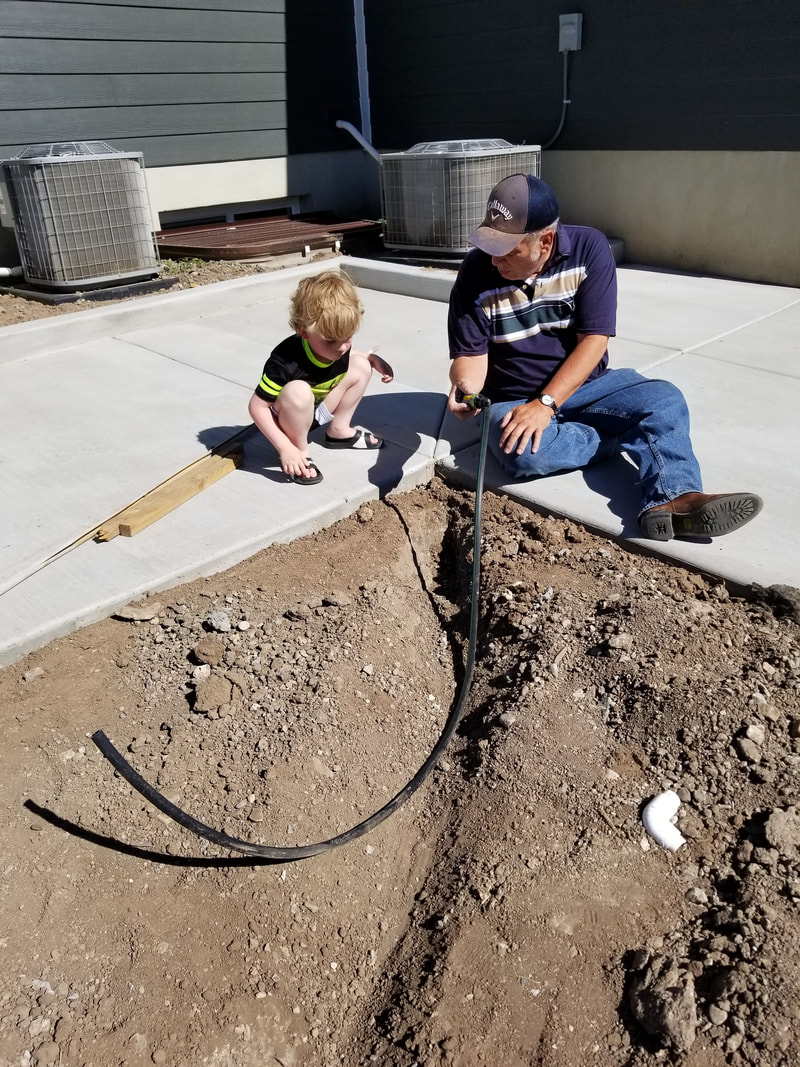
Fortunately, I didn't have to do it alone. Grandpa was here to supervise and to help lay pipe. And the kids were out most evenings cheering us on as we moved as quickly as possible. (We gave ourselves a week to do all the sprinklers and get the grading done before the sod came, so it was quite the race).
Picture
Picture
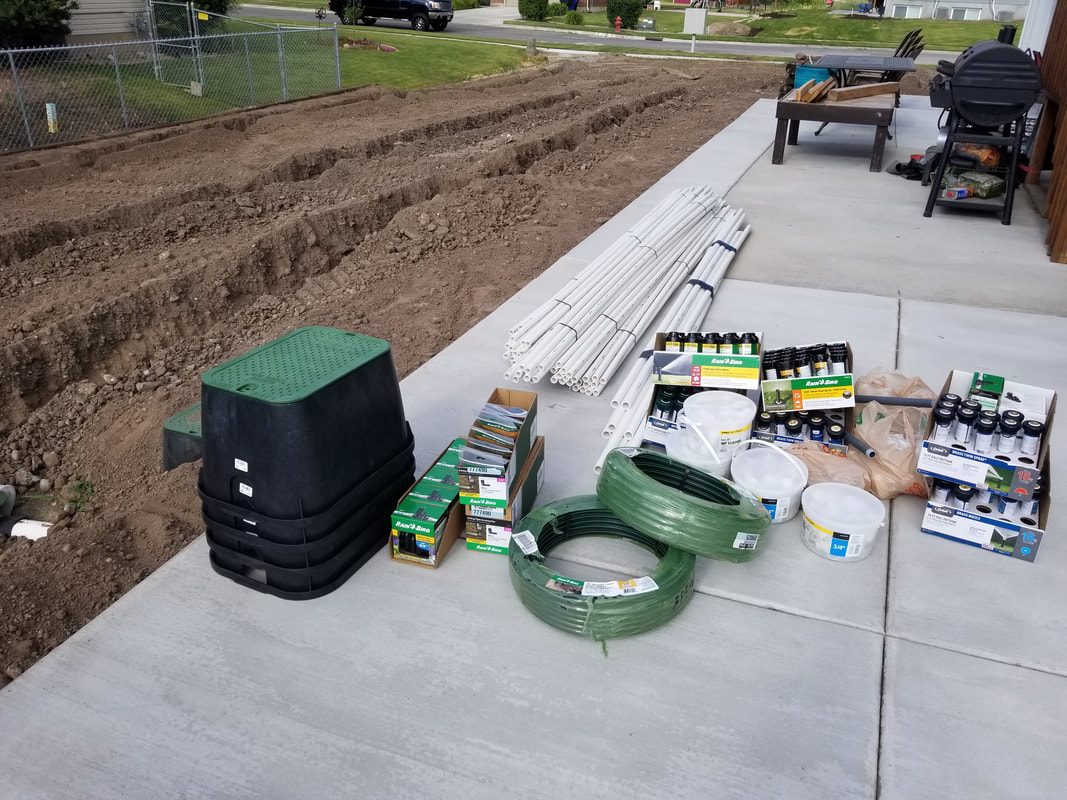
In our old house, the sprinklers didn't reach all of yard, so we had to do a lot of watering by hand. We wanted very much to avoid that, so we put in a lot of sprinklers. Like, a lot. Enough that a few minutes per zone would be enough to keep the lawn nice and green. It is overkill without a doubt. But I'd rather have that than the alternative.

​We also got a smart controller, which I can't recommend enough. Being able to test out zones from your smartphone is awesome. We'll be replacing our other controller soon so that we can control all sprinklers from our smartphones.
Picture
It certainly came down to the wire, getting the sprinklers done and getting the lawn graded and raked in a week, but we were able to do it. 

We had sod delivered and installed on a Tuesday evening, and the kids were elated. They've had to stay out of the backyard for so long, that being able to finally play back there was awesome. 
Picture
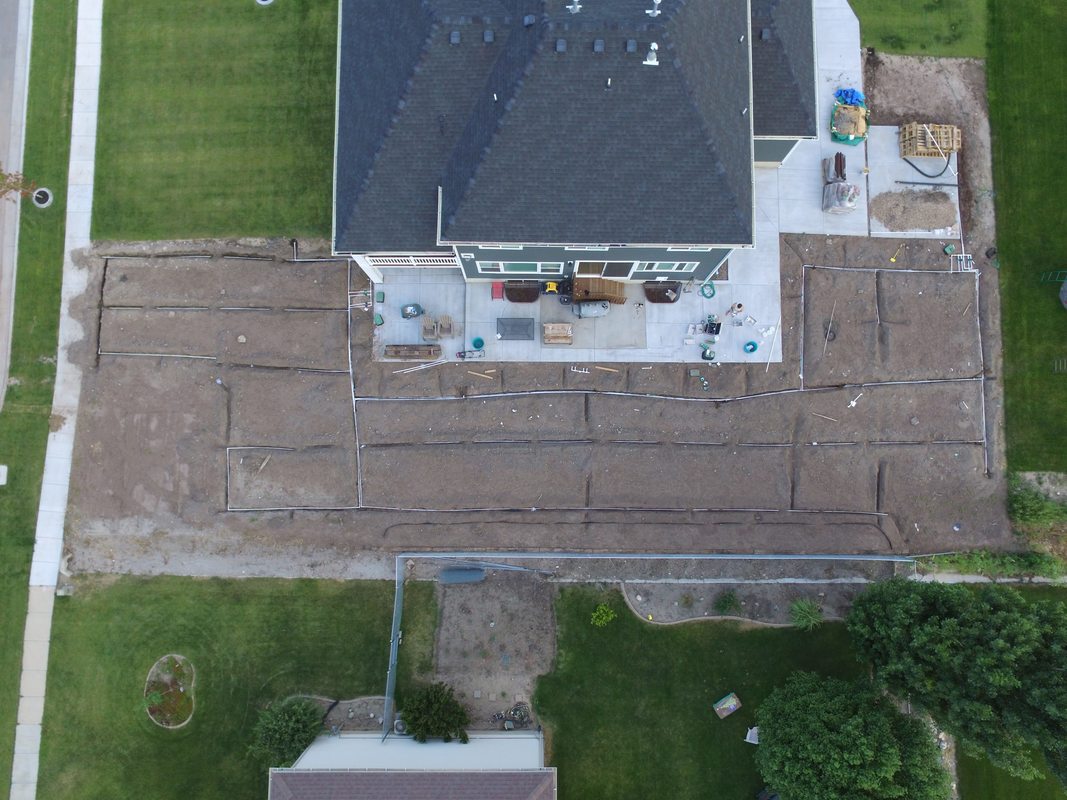
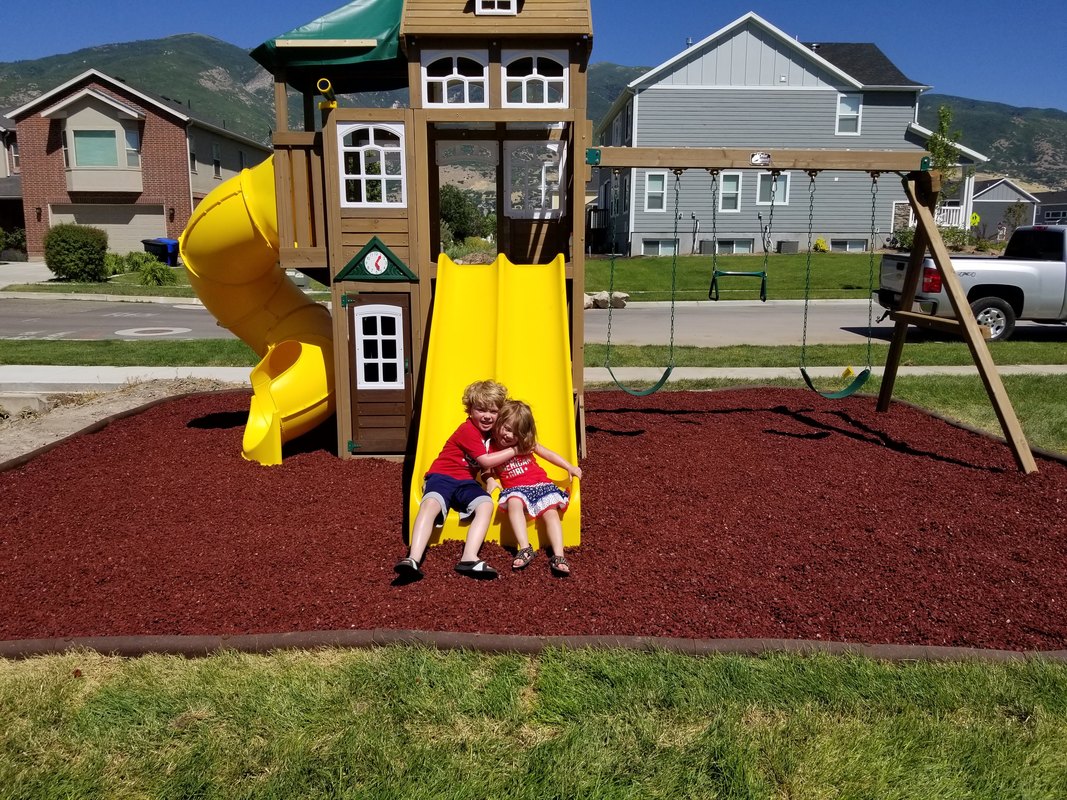
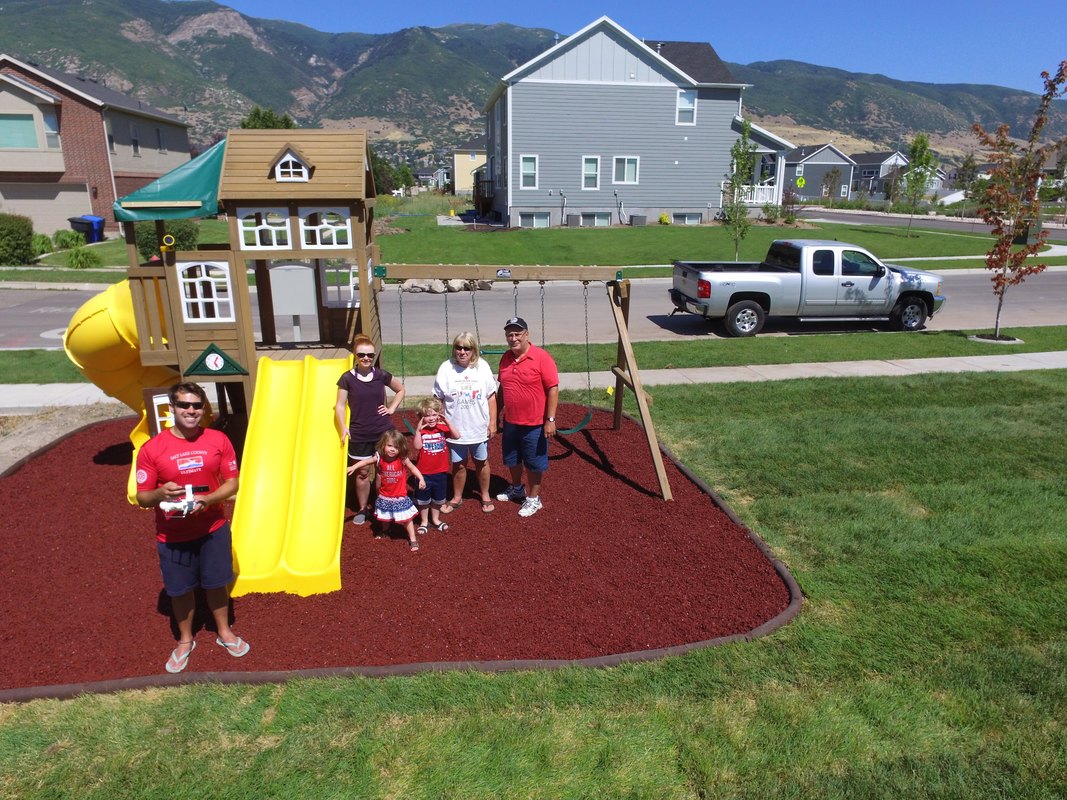
Part of the kids excitement was also due to the fact that they knew that once grass got put in, they were going to get a playset. We purchased a kit a few months ago and it's been sitting in the garage. And a couple times a week the kids have been asking why it hadn't been put together. "That silly daddy, he hasn't built our playset yet." That's what I've been living with for months now.
Picture
So the Saturday after sod went in, we officially got started on the playset.

I had hoped for it to be a one-Saturday project. The estimated time for building it was about 10 hours. My hope was that was for people who weren't as handy as me and my dad, and that we'd knock it out in half the time. 

Unfortunately, that didn't turn out to be the case. While none of it was particularly difficult, it was time consuming sorting everything out and getting all the little pieces put together.

The kids also thought it would be about a one hour project, so they weren't happy when it wasn't done by lunch time. But they were really excited to see the progress on it. It meant that they'd have a playset soon.

A few more evenings of work though, and we had it all done. And following a terrible tradition of doing outdoor projects on the 4th of July, we put down the rubber mulch after the parade.
Picture
Picture
And with that, the first phase of the backyard is just about done. The grass is in. The playset is built. We planted lilac bushes along the back for privacy. Next up, we'll be putting in a fence and doing some additional finishing touches along some of the side and back.

But at least we now have a usable, fun space for the kids.
1 Comment
Daily Popular Culture link
7/7/2023 07:30:56 am

Great share, thanks for writing this

Reply


Leave a Reply.

    Author

    My personal musings on a variety of topics.

    Categories

    All
    Business
    Case Studies
    DIY
    Guide
    Lessons From The Shop
    My Reading
    Personal
    Product Management
    Random
    Technology
    Utah

    Archives

    January 2023
    June 2022
    April 2022
    March 2022
    January 2022
    January 2021
    December 2020
    August 2020
    May 2020
    March 2020
    February 2020
    January 2020
    December 2019
    October 2019
    July 2019
    June 2019
    April 2019
    March 2019
    February 2019
    January 2019
    December 2018
    November 2018
    October 2018
    August 2018
    July 2018
    June 2018
    April 2018
    January 2018
    December 2017
    November 2017
    May 2017
    April 2017
    March 2017
    February 2017
    January 2017
    March 2016
    June 2015
    March 2015
    September 2014
    August 2014
    June 2014
    October 2013
    August 2013

    RSS Feed

Powered by Create your own unique website with customizable templates.
  • Home
  • About
  • Case Studies
  • Writing
  • Podcasting
  • Guide
  • Maker
  • Contact
  • Blog